I have purchased items several times and have always been happy with the items. They are good quality and service is quick and delivery prompt. My recent purchase was for replacement mailbox decals for my sister and niece who both purchased new mailboxes. The original decals that I had given them outlasted the boxes!
It’s exactly what I expected. It is durable and easy to read.
exactly what I wanted and application was simple.
This is our third time ordering from them and they never disappoint! Thanks again for another cute mailbox!
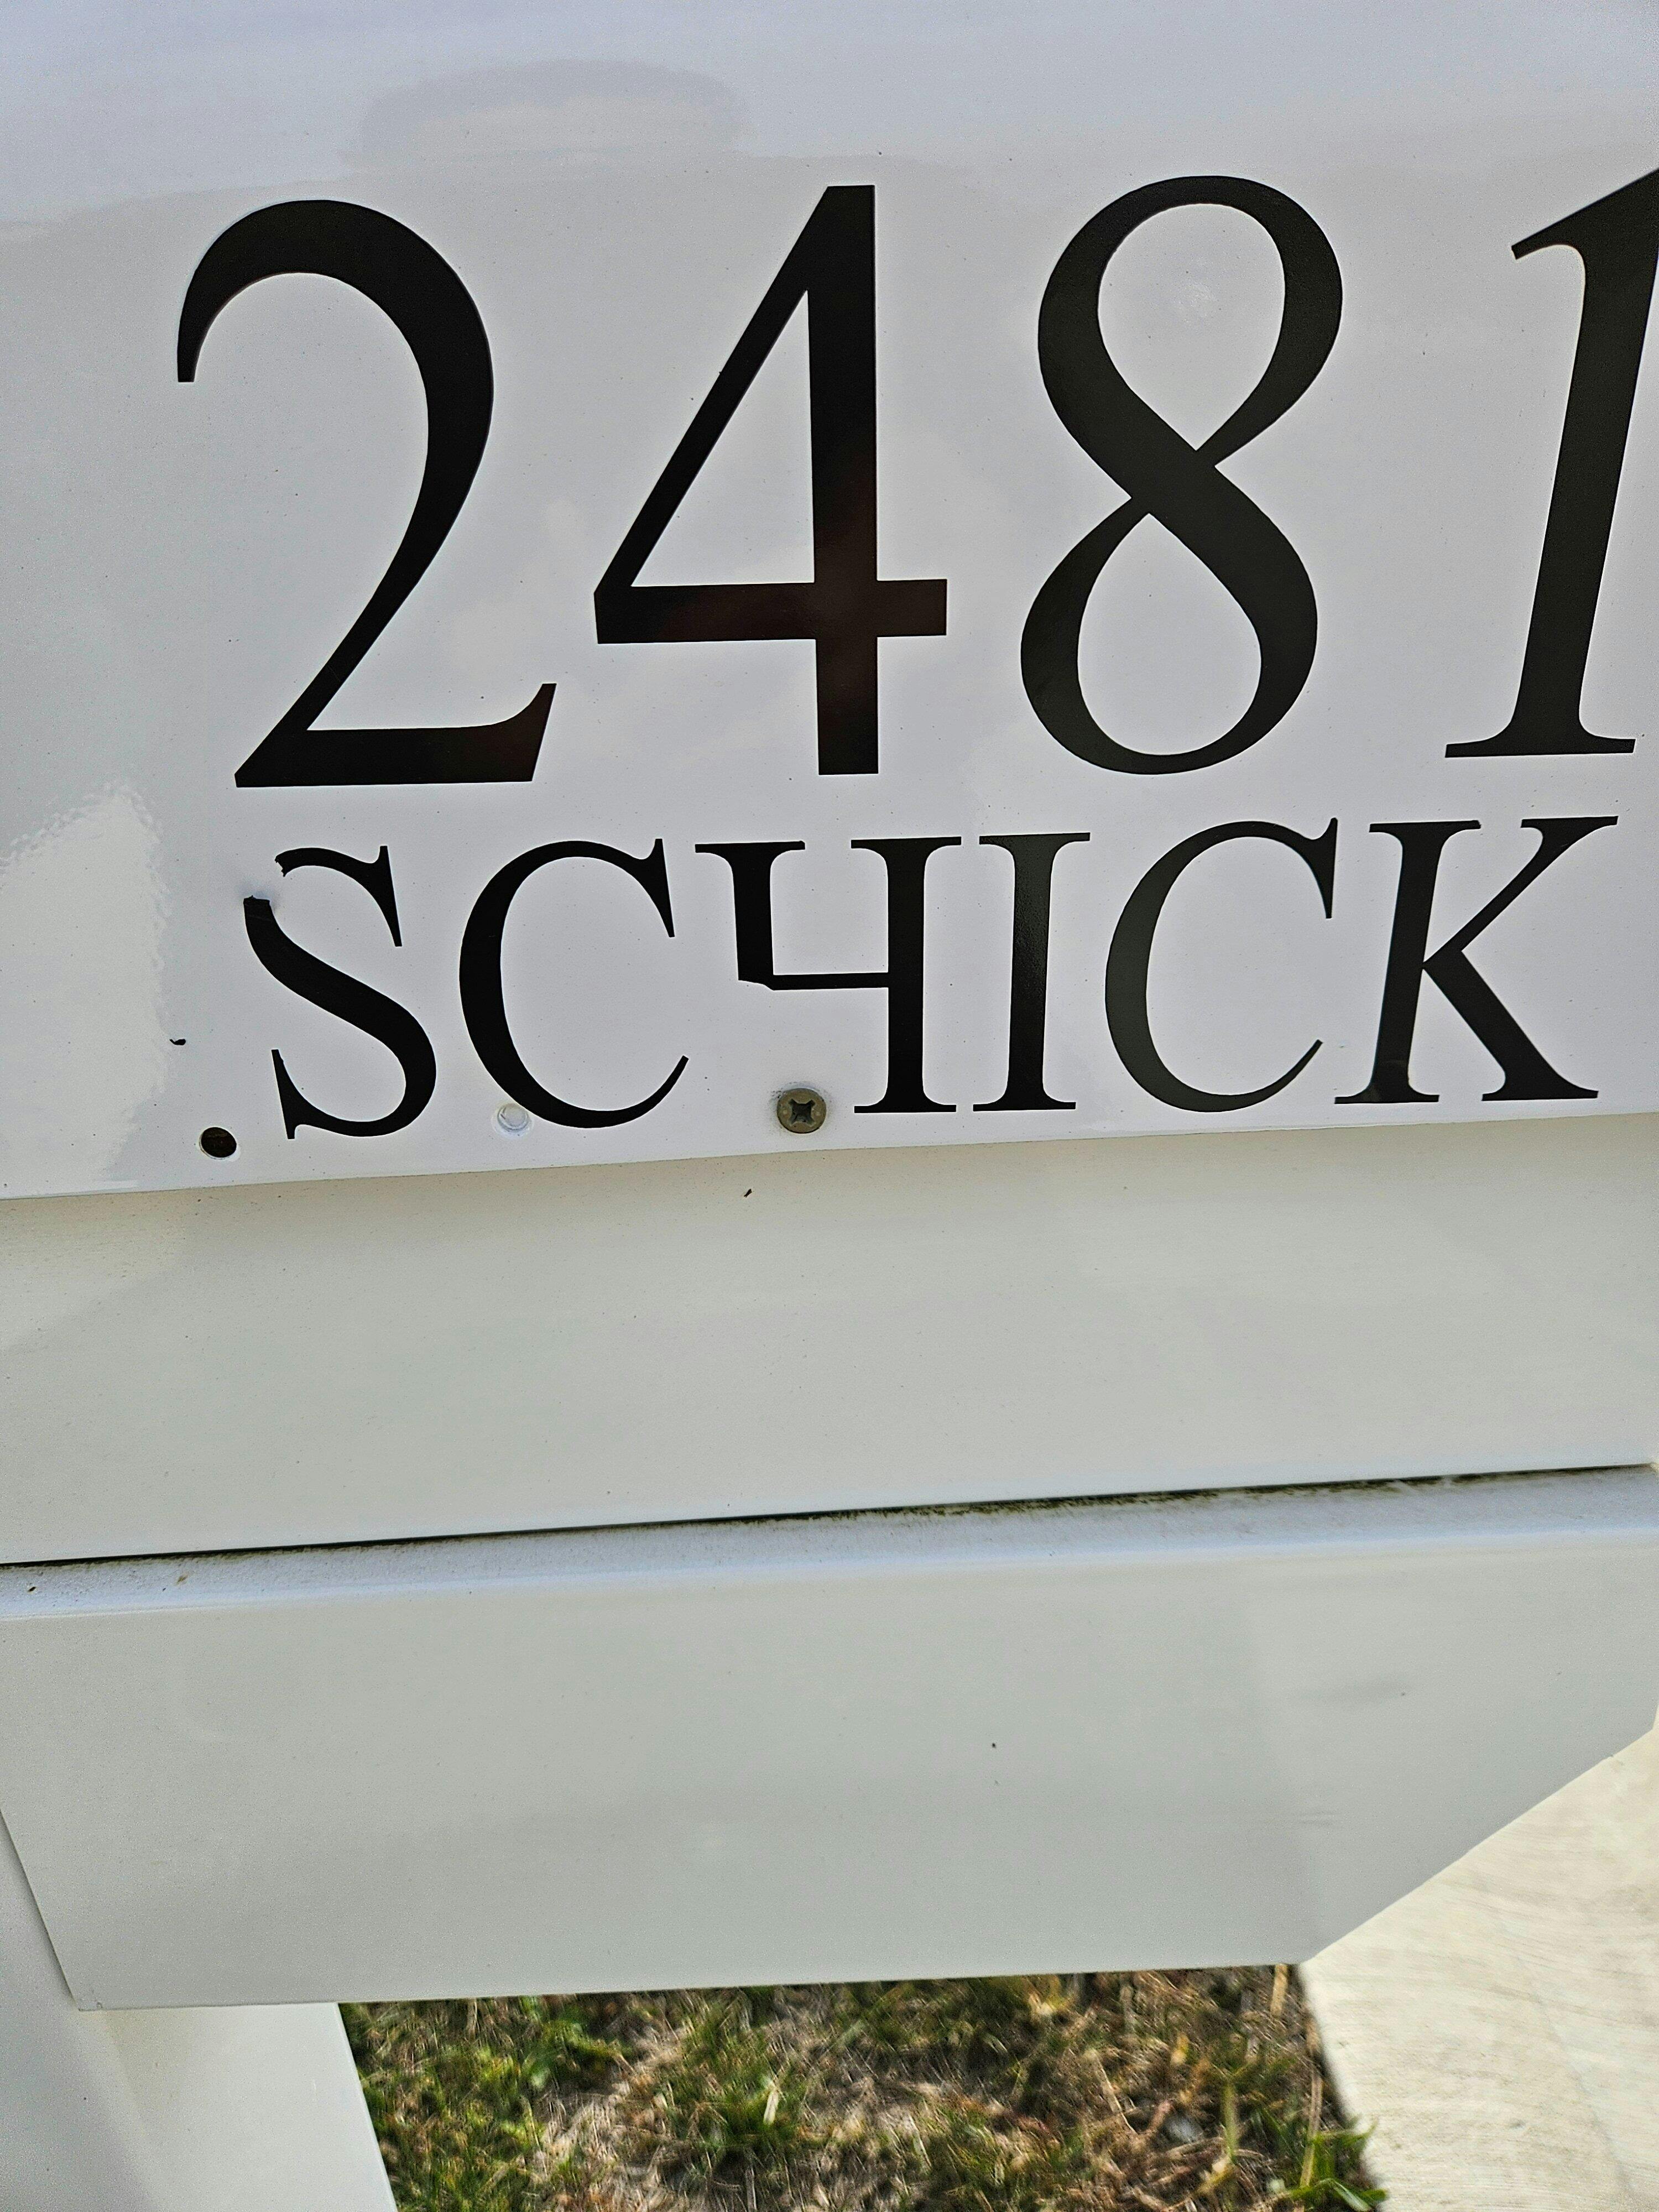
Numbers turned out fine. Couple of letters tore off on backing removal.
I loved this product! It was exactly as pictured!
Beautiful! Easy to install
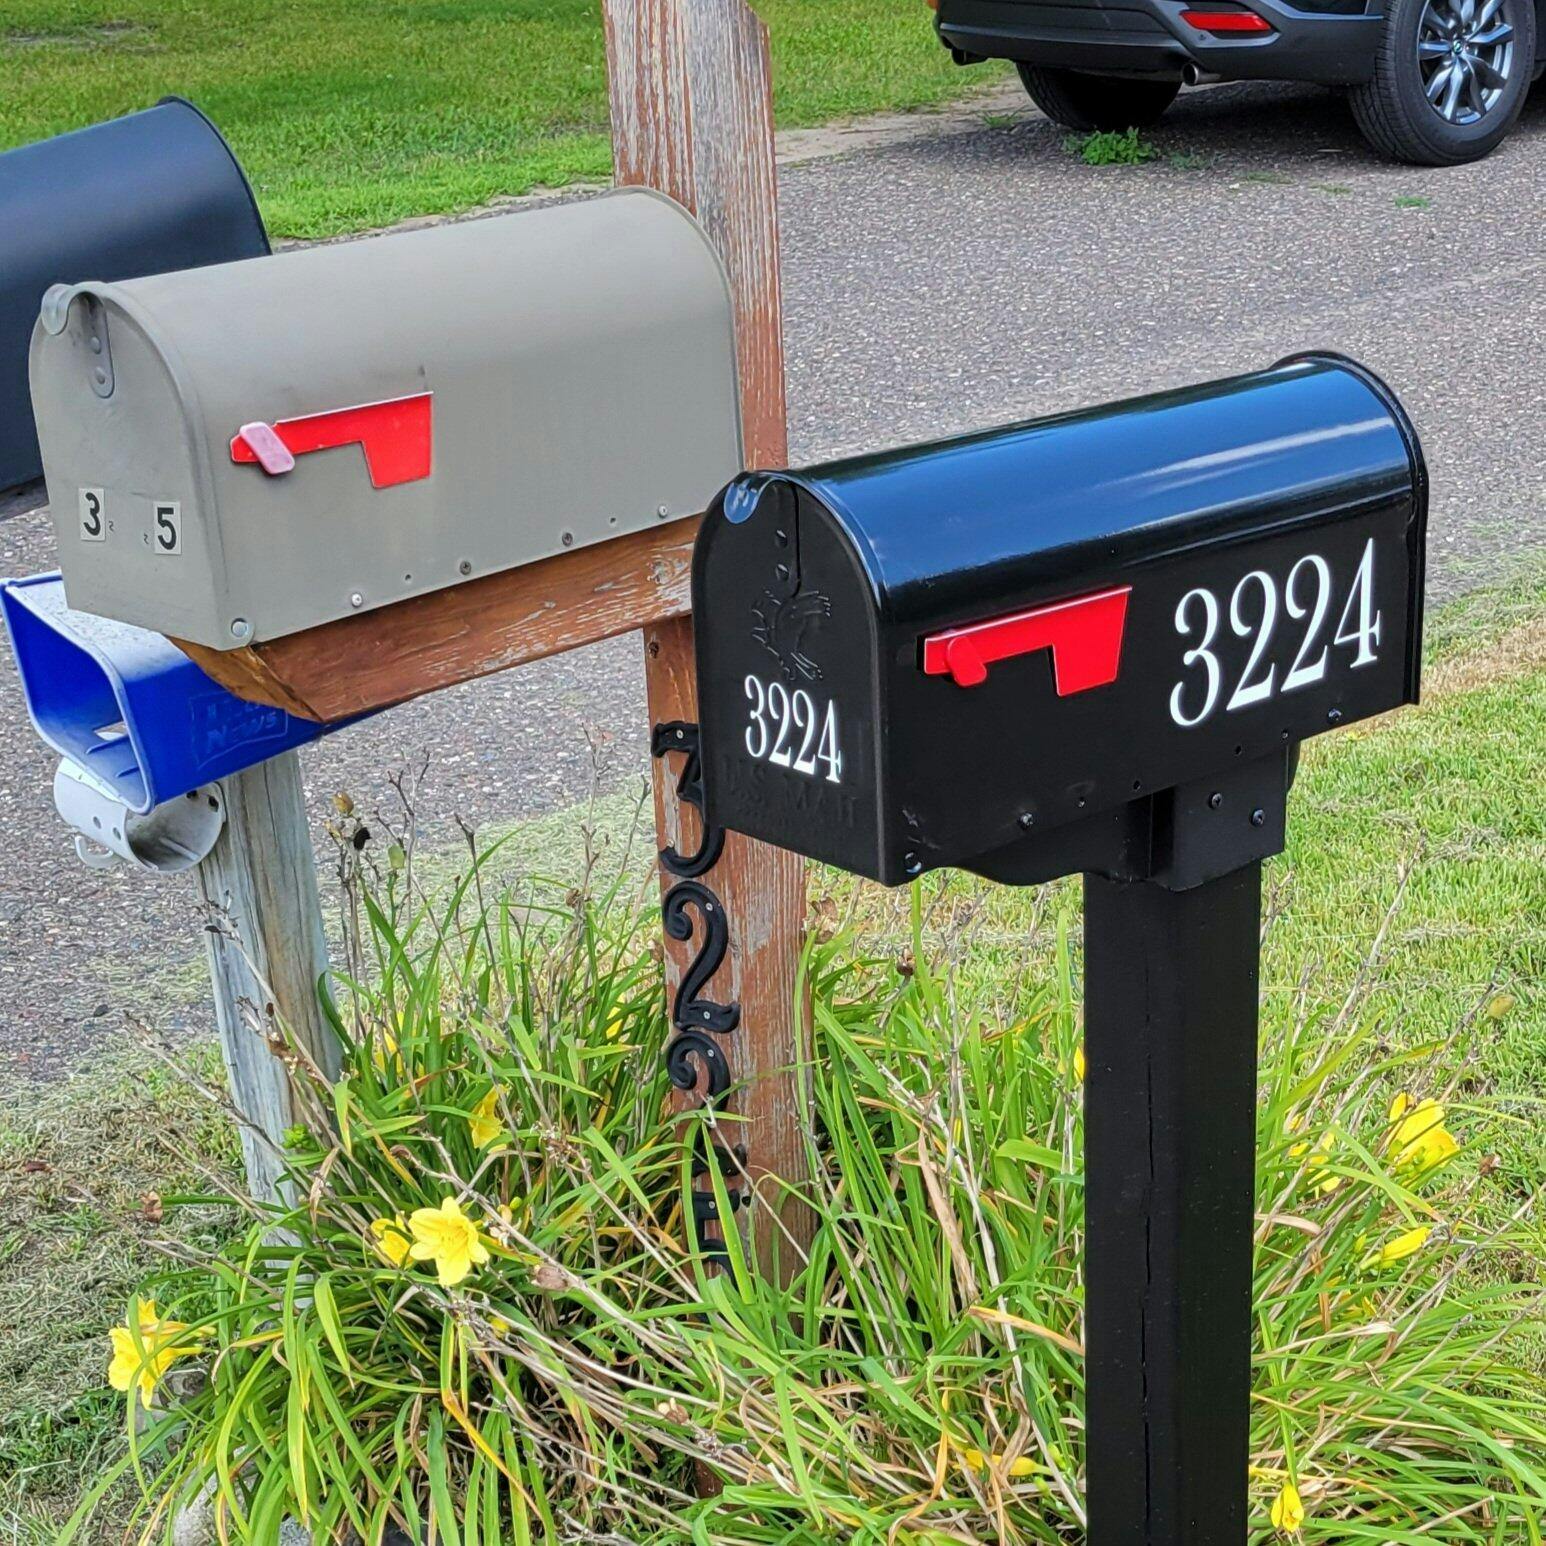
Fast shipping. We will see how long they last on the mailbox but it's great to only order the numbers you need, have it apply in a straight line and be so professional looking. Greatly beats the square individual numbers from Menards etc lol. Thank you!
Turned out great but commas were added on the reverse side after each line that were not expected.
Thanks for your great service! Ordered late for Christmas and you got it here in 3 days!!
Super cute on my mailbox and exactly what I wanted
Highly recommended product and seller! TYVM! ❤️
Proactive customer service for my custom request!
Exactly as advertised. Couldn’t be happier!!!
The store was really fast with shipping. Nice product. Good quality. Very pleased.
Just as described. Easy ordering and fast shipping
Item was nice, and they worked with me on the details.
Amazing work! The finishing touch for my new mailbox project.
It was a great decal and went on great!
after receiving my initial order, the particular numbers I required came to me and we’re definitely not what I expected. I reached back out and Customerservice re-issued me new numbers and sent out. They were perfect.
